Introduction to (Neo)vim part 1
What is Vim?
Vim is a highly customizable terminal-based text editor made for programmers. If you have never heard of or used Vim before you should keep reading, else you can skip to the next section.
The main philosophy behind Vim is to use keybindings to always keep your hands on the keyboard. Vim is able to accomplish this through modal-based editing. Vim has different modes you can be in for different things you may need to do.
- Normal - moving around the file and making edits
- Insert - for typing (this is the mode you expect all other editors to be in)
- Visual (plain, line, block) - selecting text
- Replace - replace text
- Command - running commands
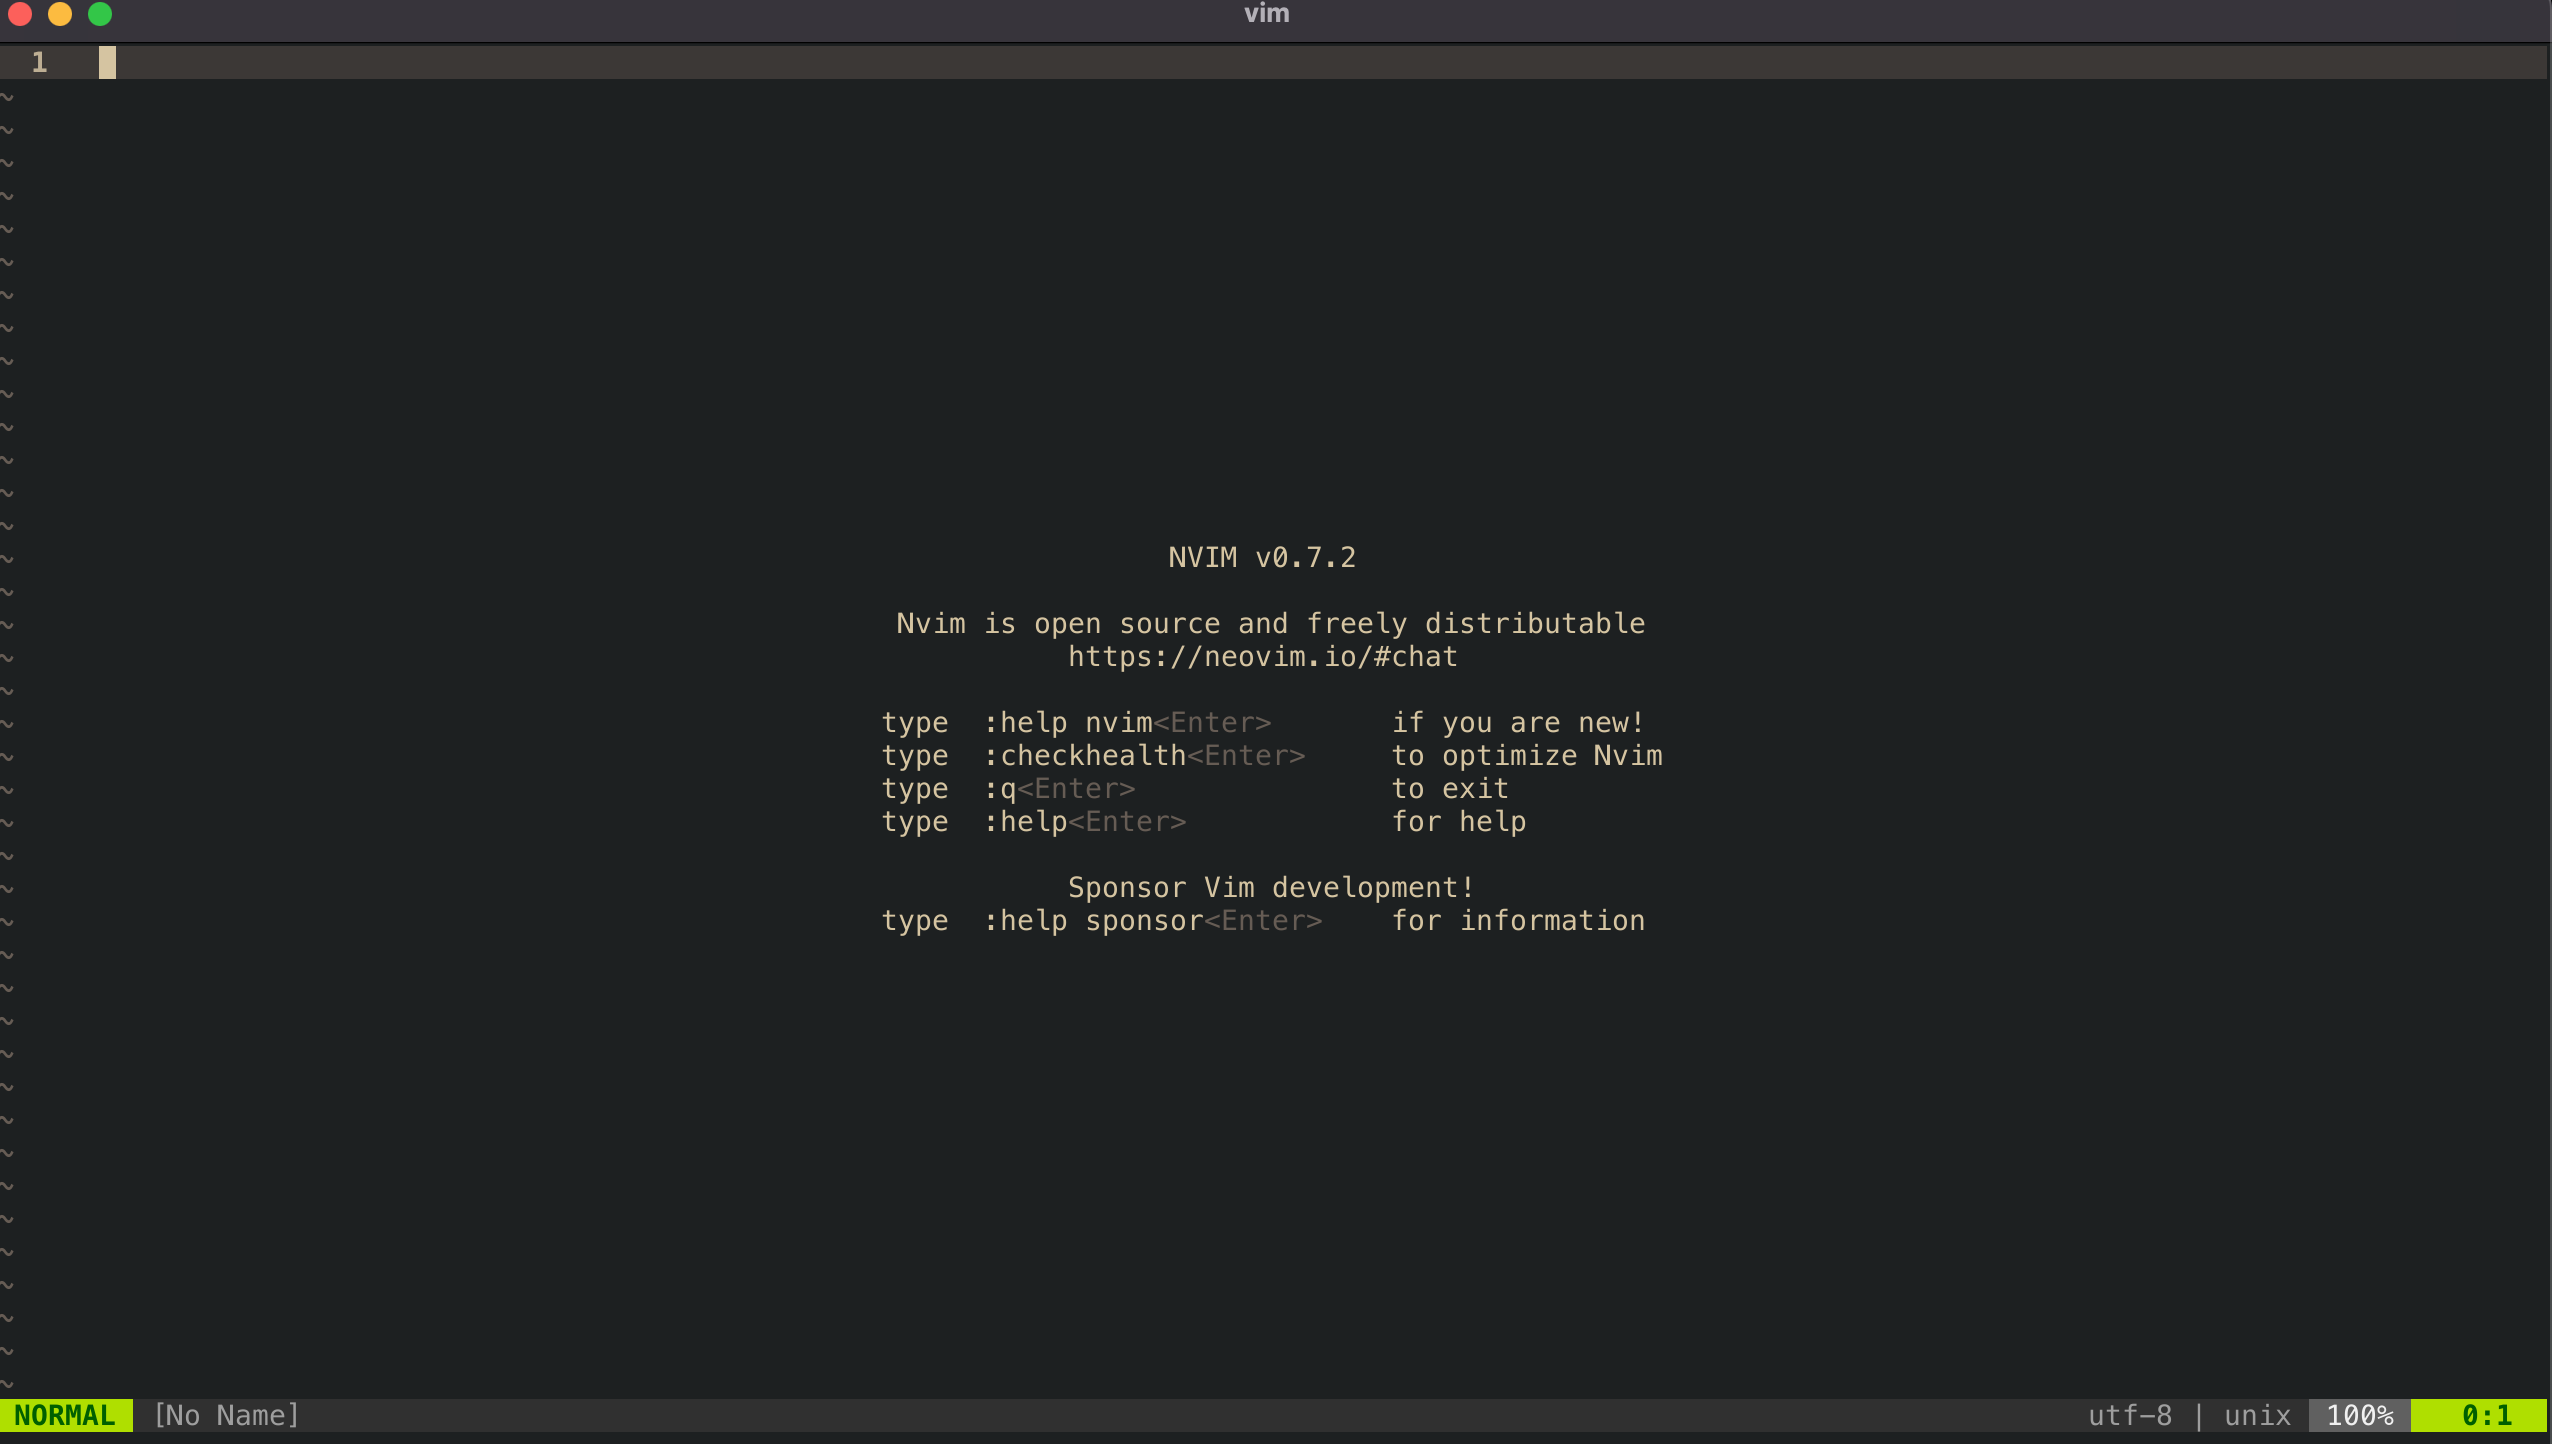
Before I go on any further, I think it would be good if you have never used/opened vim before to do so now. By default all modern operating systems should come with Vim preinstalled. First, open your terminal, then type “vim helloworld.txt” and hit enter. This will open vim and create a buffer called helloword.txt. Initially, you will be in Normal mode. To start typing hit “i” on your keyboard, now you are in Insert mode. You can type whatever you want here. To go back to normal mode hit the escape key. If you want to switch between modes always hit the escape key to go back to normal mode then hit the corresponding key to go into that specific mode. Visual mode can be entered by hitting “v” (Note: there are other visual modes like line and block however this is outside of the scope for this section). Typing “R” (shift-r) will take you into Replace mode and “:” will take you into Command mode.
Great, you are in vim and are able to move around the different modes. To exit Vim go into Command mode (hit the colon key) and type q! (this will quit vim without saving). To save and quit type “wq”.
Wow, that was a lot. Vim can seem very daunting at first. But, if you stick with it you will find it to be very intuitive. Vim has many commands and keybinds that can seem very cryptic to the uninitiated. But, with time vim can enhance your workflow and make you more efficient. Later on, if you decide you don’t like the Vim editor, the time you spent learning the keybindings won’t go to waste because most editors support a Vim emulation mode to allow you to use Vim keybindings.
Why should I use Vim/Neovim over other editors/IDEs?
- Highly custom and you able are to make it one of a kind
- Feels more enjoyable to code and type things using Vim
- (Neo)vim is very lightweight and portable. With a simple script, you can install Neovim along with your entire configuration anywhere.
- Neovim does not have any telemetry (i.e recording keystrokes)
- Learn more about dotfiles and how to manage them
- Get a better understanding of the internals of other editors and IDEs
- Become more proficient in a terminal-based environment
Some differences between Vim and Neovim
To start, Neovim is a fork of Vim. Neovim uses the Lua programming language to configure everything, however, if you are coming from Vim you can also use vimscript or a combination of the two. In Vim you have the “.vimrc” file. However, Neovim you have “init.vim” which resides in “~/.config/nvim/”. If you have an existing “.vimrc” file you can just copy and paste it into the “init.vim file” and it should work. Vim plugins and settings will work with Neovim out of the box. However, the reverse is not always true. Many Neovim plugins are not backward compatible with Vim. Therefore if you decide to use Neovim over Vim you will have access to a lot more plugins to make your Neovim configuration more customizable. Neovim is a more modern version of Vim, so if you are just getting started with Vim, I highly encourage you to use Neovim over Vim.
Why Lua?
If you are interested in why Neovim uses Lua over something like Python or why you should write your Neovim configuration file in Lua instead of vimscript keep reading.
Programming languages like Python come with a large collection of libraries. While this isn’t a bad thing, for something like Neovim that simply is not needed. Moreover, Lua has a Just-In-Time compiler (LuaJIT) that is around 10x faster than the Python runtime. Lua is one of the fastest scripting languages in the world and it comes with a minimal amount of libraries which makes it a very good choice for Neovim. Lastly, Lua 5.1 is considered a “complete language” this means that the syntax will not change which means that it is great for backward compatibility.
Now, why should you use Lua over vimscript for customizing your configuration? Simply put, writing your config in Lua allows for a more modular and scalable configuration. Over time you will probably add more and more plugins/settings. Keeping everything in one single file is not a good idea. Using Lua will make it easier to break up your configuration file and make it more readable scalable, and maintainable.
How to install Neovim
There are a few ways you can install Neovim.
- Use a package manager (Homebrew, apt, etc)
- Download and install from the source
I use macOS, so I just used homebrew to install it
brew install neovim
Note: you can also install the nightly version of Neovim, but to do that you have to install it from source.
More information can be found on the Neovim Github here
Fundamental Vim/Neovim movements
This section will go over the fundamental vim movements (keybindings) that I think you should be familiar with. All of these movements will work with Vim/Neovim out of the box, so do not worry about any sort of configuration. Also, there are many more keybindings but these are the ones that I think are the most fundamental. Lastly, before we get started many of these keybindings are mnemonic and can be joined together. For example, “d” for delete and “i” for inside. When you are in normal mode pressing “di(“ will delete everything inside of the closest parentheses on the same line.
For example, di( changes this:
add(2,2)
To this:
add()
Now let's move onto the actual vim keybindings tutorial.
Basic Movements
| Keystroke | Mode | Description |
|---|---|---|
| gg | normal | go to top of file |
| G | normal | go to bottom of file |
| h | normal | left |
| j | normal | down |
| k | normal | up |
| l | normal | right |
| yy | normal | yank (copy) current line |
| dd | normal | delete entire line |
| p | normal | paste |
| x | normal | deletes the character that your cursor is hovering |
| s | normal | deletes the character that your cursor is hovering and puts you in insert mode |
| 0 | normal | go to beginning of the line |
| $ | normal | go to end of the line |
| o | normal | create a new line below and put you in insert mode |
| O | normal | create a new line above and put you in insert mode |
| w | normal | move forward one word |
| b | normal | move backward one word |
| shift-i | normal | moves cursor to first non white space character and puts you in insert mode |
| u | normal | undo |
| control-r | normal | redo |
| v | normal | visual mode |
| R | normal | replace mode |
| : | normal | command mode |
| /hello world | normal | puts you in command mode and searches for hello world |
Combining movements
| Keystroke | Mode | Description |
|---|---|---|
| dw | normal | delete one word |
| cw | normal | delete one word and puts you in insert mode |
| d$ | normal | delete to the end of the line |
| di( | normal | delete inside of the parentheses |
| ci( | normal | delete inside of the parentheses and puts you in insert mode |
These are just some of the possible keybinds. Obviously, I did not include every single one, but I included enough to get you started. When you first start learning the vim keybinds you will probably be doing an inefficient combination of keys. Just keep in mind there is probably a more efficient way of doing whatever it is you need to do.
Great Resources
The Vim/Neovim community is very welcoming. These are some of the resources that I used to learn and become proficient in using Vim/Neovim.
- Read the help docs (:help) and use vimtutor (type "vimtutor" in the terminal)
- The Primagen - Entertaining youtuber with great Vim knowledge
- Chris@machine - Youtuber with a lot of Neovim tutorials
- TJ DeVries - Core maintainer of Neovim
- r/Neovim - Neovim subreddit
- The Neovim GitHub - Neovim GitHub repo
- Neovim Plugin Collection - GitHub repo of Neovim Plugins
Part 2 will cover how to configure and customize Neovim.